Whether you’re a professional photographer or just getting started with drone photography, there are a few things you can do to make sure you get the best possible results. In this article, we’ll share our top tips that will help you take stunning photos with your drone.
The importance of light
Light is arguably the most important element in all photography. Light creates mood and tells stories, from inspiring sunrises to somber Atlantic coastlines, light evokes emotion that captures the essence of the moment.
The first thing to keep in mind when capturing light is that there are two types of light: natural and artificial. Natural light is the type of light that comes from the sun or from other sources such as candles, lamps, or fireplaces. Artificial light is created by electric lights like fluorescent street lights, cars, incandescent and LED bulbs. The second thing to keep in mind when capturing light is that it can be divided into two categories: hard and soft daylight.
- Hard daylight refers to direct sunlight which produces high contrast images with deep shadows on one side and bright highlights on the other.
- Soft light is created by large light sources like the sun on an overcast day. It's often used to create an airy, ethereal look and feel in photos. This type of lighting has a very soft quality that can make people look more flattering than they would under other types of lighting but can make landscapes appear flat and washed out.
When considering drone photography, natural light is the paint brush that creates contrast and interest in the landscape and your subject.
Aerial photography for landscapes
When taking drone photographs of landscapes, make sure to keep your drone an altitude that connects the layers and elements of the scene. The most common mistake new drone pilots make is to fly as high as they can and capture scenes of flat horizons with no point of interest. Part of the value of a drone is that it can actually fly at low altitudes to capture detail and compositions.
- Pay attention to the light
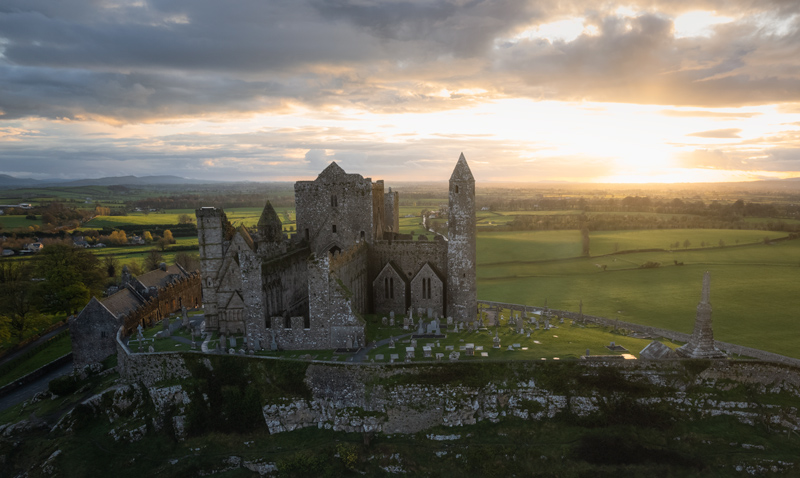
The best time for landscape photography is early in the morning or late in the evening when the sun is low in the sky. This will give your photos a warm, golden glow throughout the magic hour and maximise the dramatic effect of light dancing on the land. In the image below, while the castle is in full shade the setting sun illuminates the fields, trees, and mountains in the distance. This brings rich contrast and colour to an otherwise dull image.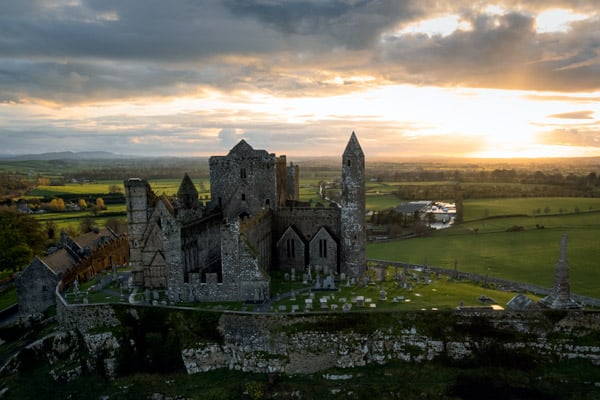
- Shoot cloudy skies
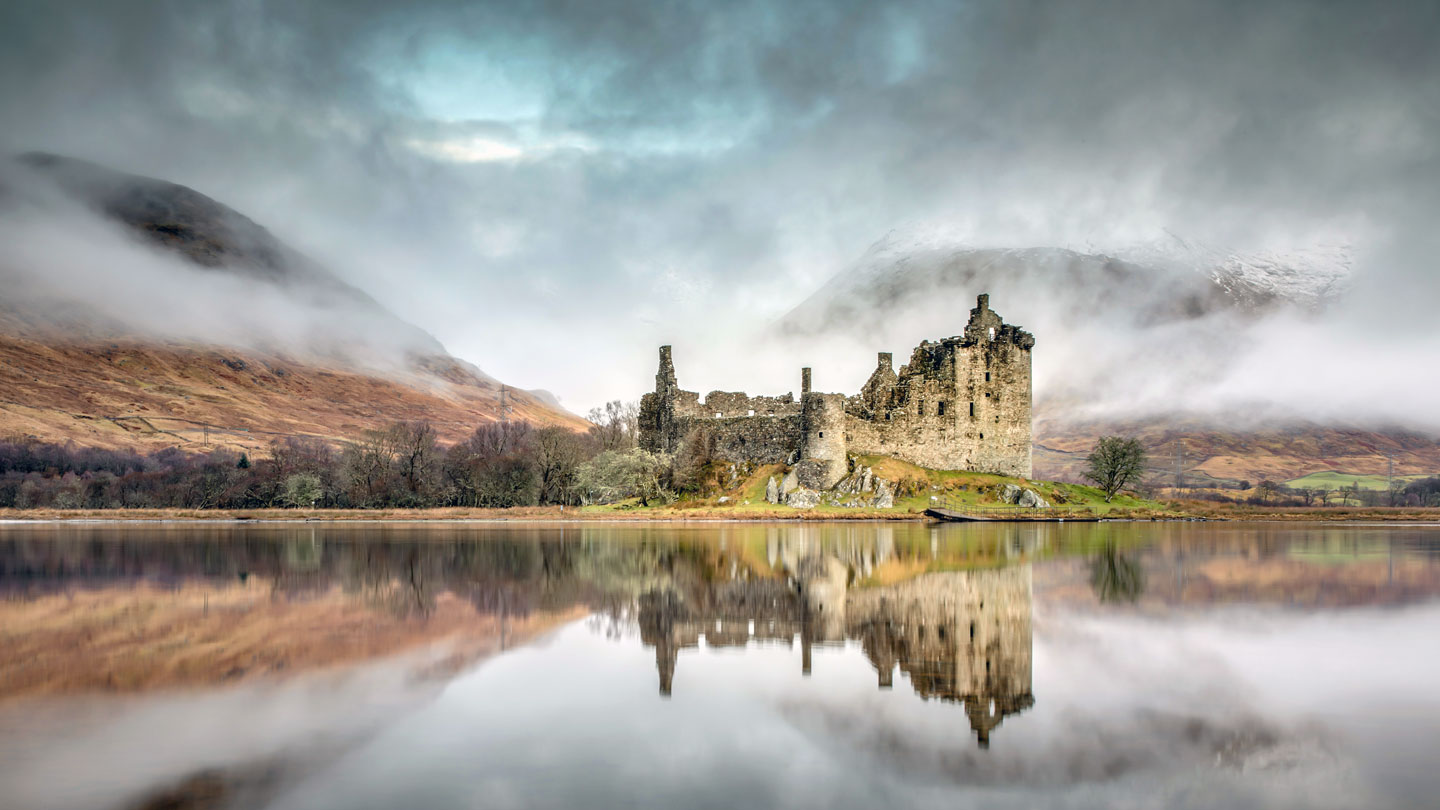
When creating compositions that include the sky, shoot when there are clouds, blue skies result in flat and boring images. In the image below you can feel the tension and drama created by the dark clouds rolling over the mountains.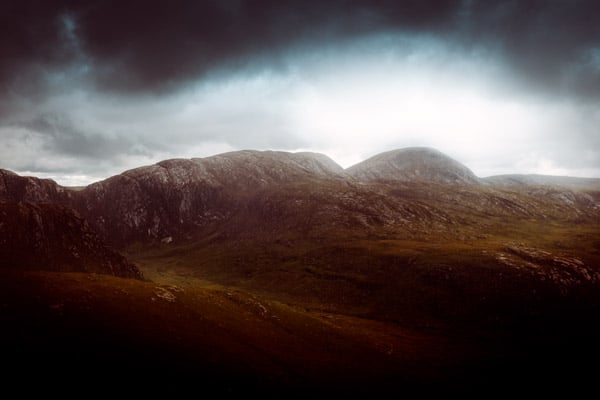
- Angles matter
Try to capture images at 90°, 45°, and straight angles. Different angles capture unique compositions with light, get creative and explore the land from the sky!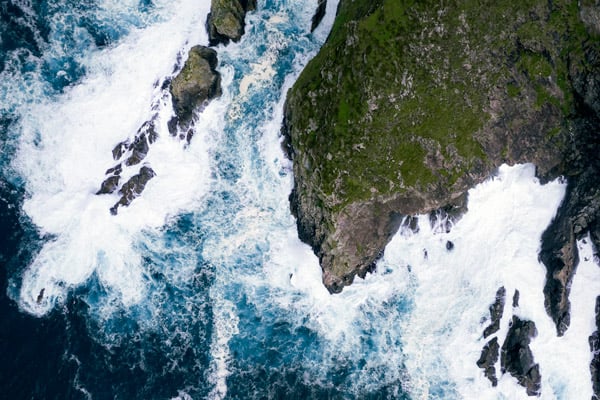
- Height matters
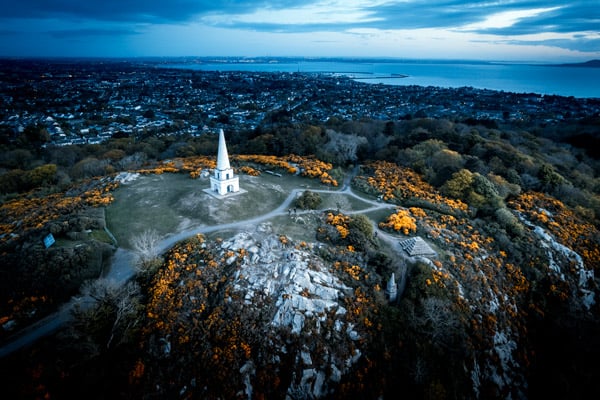
We recommend staying low and avoiding the urge to shoot straight up like a rocket to the stratosphere. This is particularly important for drone portrait photography. In the example below the drone is too high to make the most of a great location.
- Have patience
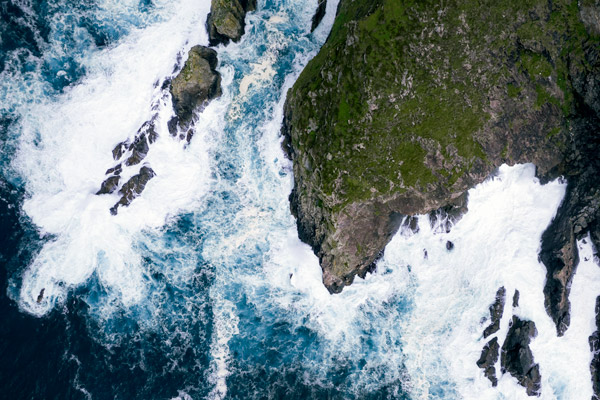
It takes practice to get good at drone photography, particularly with limited battery time. Don't get discouraged if your first few attempts are not perfect. Keep at it and you will eventually get the hang of it. I remember the stress of battery management when capturing this image of Dun Briste in Ireland. I didn't get the shot I wanted and it was because of my own impatience.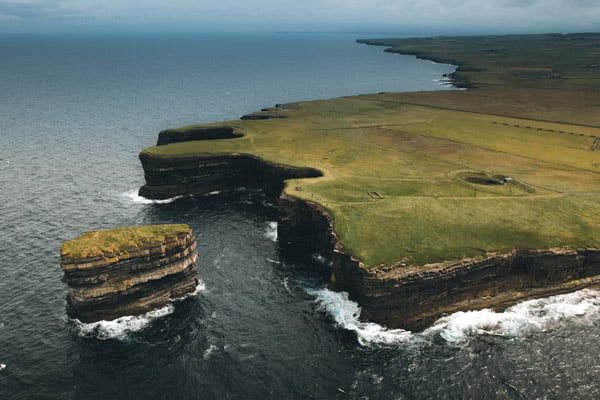
- Exposure Bracketing (don't over do it)
When it comes to drone sunset photography, use exposure bracketing to take multiple photos that are exposed slightly differently. This allows you to capture the full dynamic range of the scene by merging these multiple photos in a post processing tool like Adobe Lightroom. The image below is an example of going way too far with 5 bracketed images, we recommend keeping to 3 bracketed images max to aim for natural looking lighting.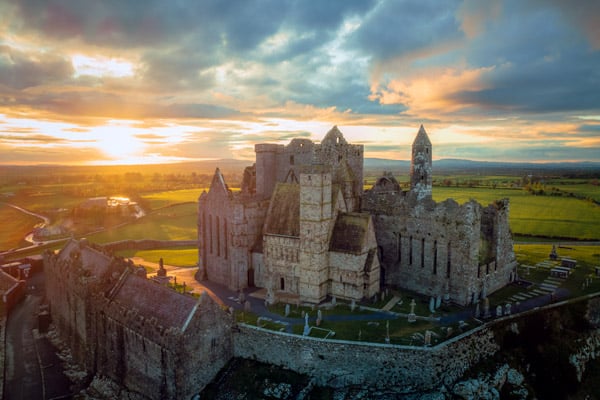
- Shoot at ISO 100
In digital cameras, the ISO number relates to brightness created by the camera. The lower the ISO value, the higher the image quality but the darker the image. Increasing the ISO increases brightness but also introduces 'noise' which reduces the image quality. The image below was shot at a relatively low ISO value of 390 and shows visible grain and reduced quality.
- Drone Panoramas
When shooting panoramas we recommend stitching together several raw frames in post and not relying on the in-camera software. Stitching together multiple raw files gives you greater quality than the jpegs created by the in-camera software, and gives more data for rich editing. The image below is a panorama made from 2 stitched raw files.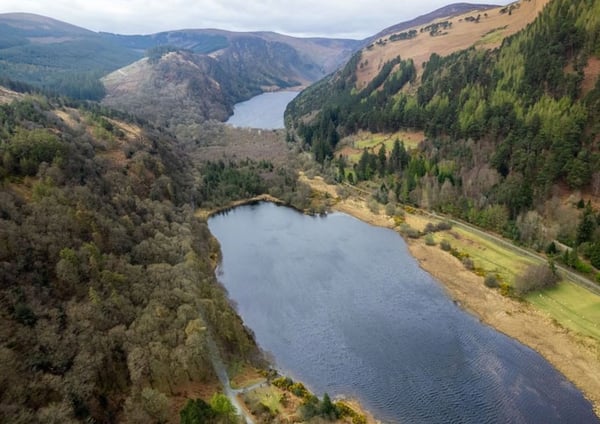
Aerial photography for construction and real estate
An increasingly popular use of drones is for capturing aerial shots of construction sites and real estate properties. While this can give potential buyers or renters a bird's eye view of the property, there are associated risks as photographers are usually operating in built up areas where the drone can crash and cause harm. It is important to know the laws of the country you are flying in and register with the appropriate authorities. As a rule of thumb when flying in urban areas, have a clear idea of what you want to photograph and how you want to capture it before you take off. This will help you make the most of your time in the air and get the best possible shots while minimising risk.
Safety First
When taking aerial photos, be sure to keep the drone at a safe distance from any people or animals. You will also need to be aware of any obstacles that could be in the way, such as power lines or trees. Make sure to check the weather conditions before you fly, as strong winds can make it difficult to control the drone. If possible, try to avoid flying in bad weather altogether, especially when you're close to buildings and people.
Finally, remember to have fun and experiment with different compositions and angles. Aerial photography is a great way to get unique perspectives on the world around you.